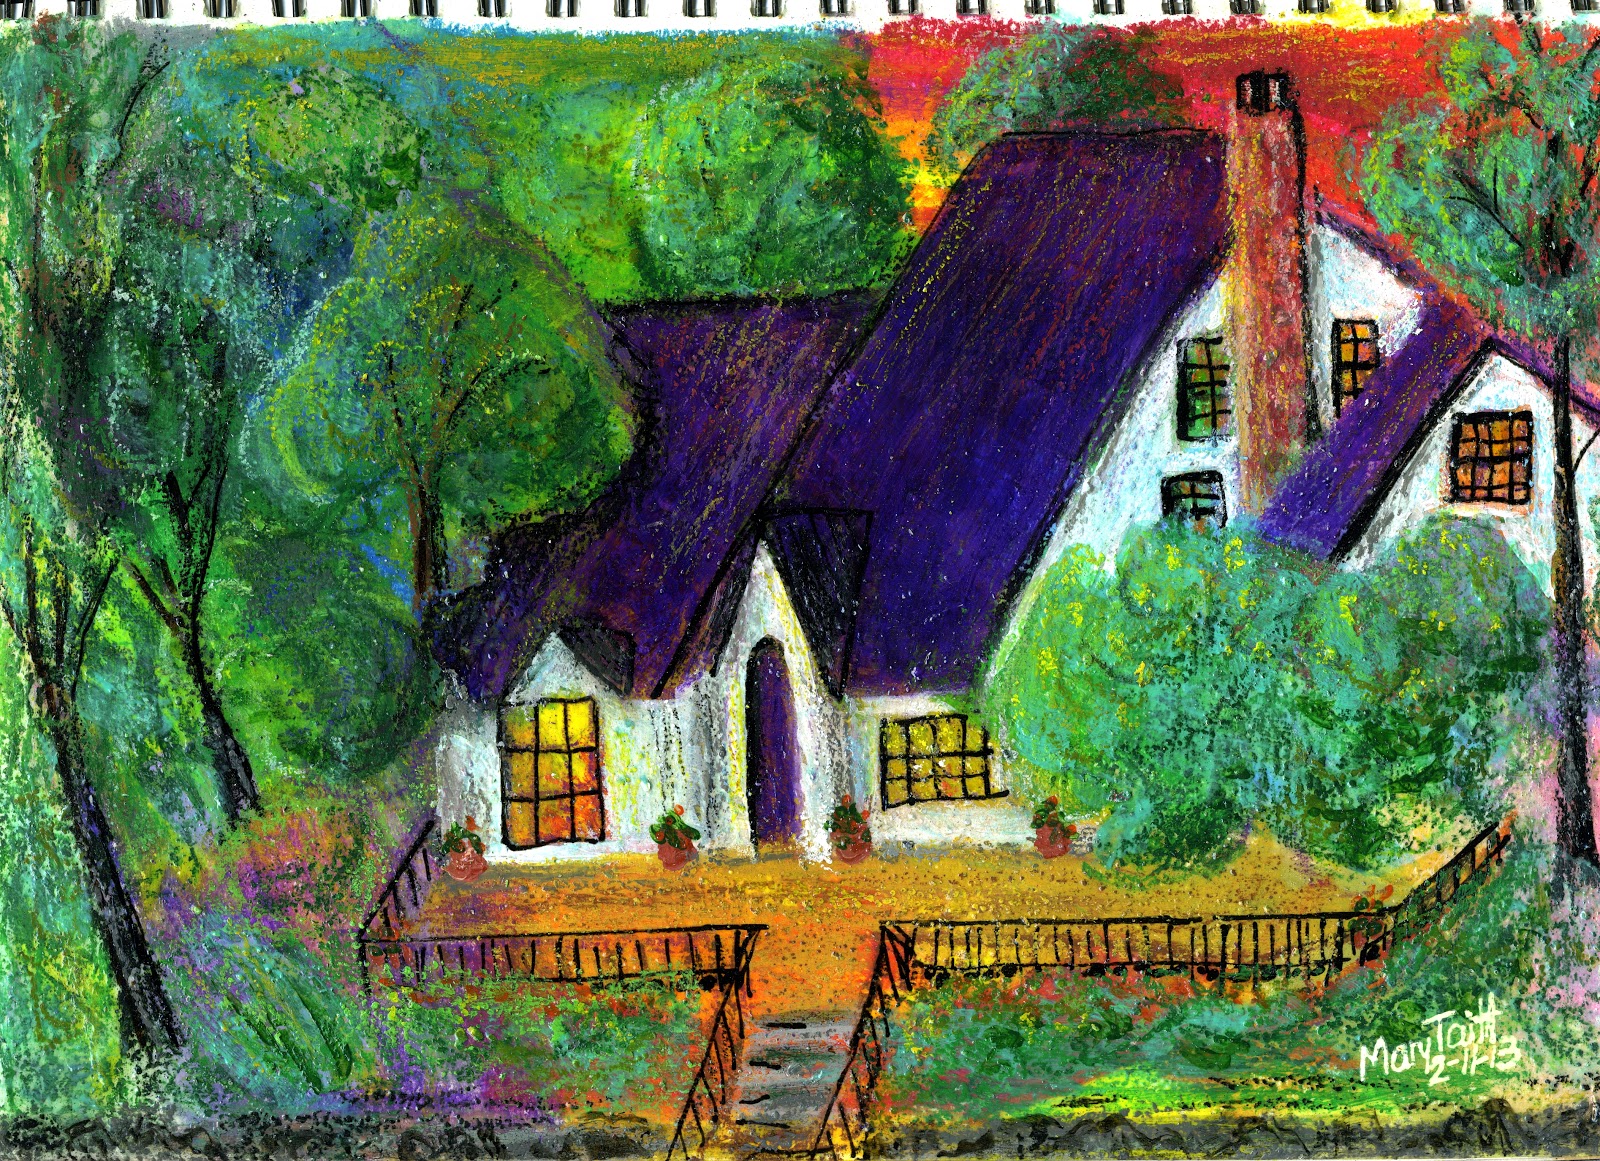
Showing posts with label oil pastels. Show all posts

Sunday, February 8, 2015

More Mary in Mike's: Angry Man, Weird Keith, collab

"Angry Man"
Acrylic and oil pastels on Moleskine Paper
Mary Stebbins Taitt
Click any image to view larger
"Biker Buddy #20140218"
Acrylic and oil pastels on Moleskine Paper
Mary Stebbins Taitt
Click any image to view larger
This scan looks a little lighter on my screen than the actual painting.

Collab, first half, for Mike
Faber Castell artist pens (including dry one for dry brush)

Monday, January 12, 2015

Mary In Mike's, Biker Buddy and Giraffes conversing

Biker Buddy, by Mary Taitt
mixed media on Moleskine thin paper
Biker Buddy with the flu
mixed media on thin Moleskine paper
I started the first one in markers, but I didn't have enough colors for shading so I added oil pastels and then I added acrylics.  The second one is what I made from the bleed-through from the first.  I'm not counting it as a page, because the paper is very thin and I wanted to make the bleed-through into something.  I also thought it would be fun to make it into something somewhat different from the original.  In the first painting, I was experimenting with unusual light sources and also concerned with flat (dead) colors--and how to make them live (add light).

dead and living colors
I chose colors that I thought looked particularly "dead" on their own, olive green, Indian red, flat grey and burnt umber.  Some of the ways to add light included dry brush, adding other colors, glazing.  I am not a fan, generally speaking, in my own work, anyway, of large areas of single blank dull colors.

test prints
giraffes conversing
Mary Stebbins Taitt

We recently put my mother-in-law, ML (for Mary Louise), in assisted living.  She used to be a teacher.  One of the books I inherited when she left her home is called printing for fun, and I read through it and discovered from printing techniques I hadn't heard of.  One is printing with paper masters--not like mimeograph, but cutting and pasting masters with shapes and using them to print with.  I decided to try it with textured papers and did my first two test prints in Mike's book.  I then made a card and included the master, because as I discovered, paper masters do not last too long--they begin to wear out and disintegrate.  It is only for fun and very small "runs."

Pocket items: Sample card
paper master
sample prints
giraffes conversing (NOT in pocket)
I included a scan of a few of the sample prints I made and you can see the disintegration of the paper.  (although they are not in order).  It was still a fun and relatively easy project and would probably be good with kids who have a short attention span anyway.  Just cut out and glue the shapes, make a few prints and move on.

Wednesday, February 20, 2013

Round 4, First Pocket

I have two pocket items for the first mole that comes my way.  The first one you've seen as a photo, but it's dry enough now to scan--It's the wandering minstrel, the Mandolin player, done in water soluble oils.

The Wandering Minstrel, The Mandolin Player
by Mary Stebbins Taitt
Water-soluble oils
for the first round 4 pocket.
size: I cut this exactly to fit the Mole pocket, hopefully.

The second pocket item is for fun.  It is a bit weird and silly.  I was playing with oil pastels.  My question was, how would they work on dark paper.  I actually went to the store and bought the paper just to experiment--I've got my teeth into exploring oil pastels at the moment.  I like them because they are bright and don't stink (like the fixative for soft pastels, chalk pastels.)  I had in mind sort making a mandala from a poppy.  When I was nearly finished, I tried to sand off on of the bumps that had formed and the layers of varnish and oil pastel delaminated.  This is something I'd been afraid of and had a series of other tests and had not managed to delaminate any of the tests--nut this one did.  The peeled off pieces felt like flower petals so, for fun, I glued them on.

Poppy Mandala with Torn Petal
First Round 4 Pocket item
Mary Stebbins Taitt
oil pastels and acrylic varnish
Click to view larger.
8.5 x 11
 The next painting (drawing?) is another in my series of tests of oil pastels and acrylic varnish.  It's on one of my practice sketchbooks, an old one, painted (drawn?) over an old failed painting.  One thing oil pastels, I have not yet learned how to do detail.  Nor can I do it with a palette (painting) knife, as seen above.)  The oil pastels tend to shed little lumps of pastel material which then builds up with successive layers to make "pimples."  These pimples are weak spots from which delamination can begin.  I have no idea about the long-term survival of these pieces, but I think they will not delaminate in the short term, as they did in the poppy mandala above, unless they are subjected to undue stress, eg, sanding.

Ami, age 13
Mary Stebbins Taitt
oil pastels, acrylics and acrylic varnish
in multimedia sketchbook
9 x 12 (part is missing on right, as my scanner is smaller than the paper)
I am not sure how much longer I will continue experimenting with this media or whether I will use it in any serious art.  I will not use it in anyone's sketchbook (Mole) in the exchange unless someone gives me the go-ahead, since the archival nature of the medium is unknown (to me) at this time.  For some reason, I seem to be taken by the medium at the moment.  Trying to ascertain its possibilities.

Saturday, February 16, 2013

Two new pieces in Round 2 and some experiments

I decided to experiment with oil pastels BECAUSE I had made two oil pastel images in my round 3 Moleskine.  I read that there were actually several fixatives and varnishes that could be used on the oil pastels and decided to try for myself.

First I made a light oil pastel picture just as an experiment on pastel paper and coated with with acrylic varnish.  It seemed to work well.

test 1
Then I did one with a number of layers of oil pastels, acrylics and varnish.  This also seemed to work well.  It's supposed to be a self-portrait, but it's unsuccessful in that regard.  I started with a painting I'd made of someone else and tried to make it into me.  It's not in a Moleskine, but in another sketchbook.

Self-portrait of the arist as an aging insomniac
This next one is all oil pastels and varnish over a failed acrylic painting which is entirely covered by the oil pastels.  The texture is quite rough from multiple layers of oil pastels and varnish.

Nan's House in Maine
After 3 trials which SEEMED to work very well--I don't know how well the will LAST THOUGH--I painted some acrylic varnish over the two oil pastels I had done in my round 3 mole (The pink elephant and the rowboat in the mountains.

THEN, I did a mixed media piece in my round 2 Moleskine.  This was on a page Anders skipped because of bleed-through from Markers.  I put on two layers of acrylic gesso and then drew a monochrome picture with pigment markers (pens) and then colored it with water colors and oil pastels and varnished it.

Red-shouldered Hawk
Round 2 Moleskine
click image to view larger
I would not have attempted using oil pastels again in a Moleskine if I had not done the previous tests.

Then, I did the final piece in the round 2 Moleskine, which is a collaboration with Milo called fish for Milo--it's pencil and colored pencil.

Fish for Milo
pencil and colored pencil
collaboration
Milo drew the curlies at the top and bottom
So Now the Round 2 Moleskine is totally finished and soon I will have a movie of it (a slideshow, probably.)

Wednesday, January 9, 2013

Collaboration: The Pigephant (Evolution of the grub)

Someone left me a perfectly nice outline of an elephant, I assume as a collaboration, and I messed it up BIG TIME.  I'd never used oil pastels to speak of, so this was my first attempt, and I didn't really know what I was doing.

First try:

Pigephant (the grub)
My husband said it looked like a grub.  I was calling it a pigephant.  I decided the back legs were too far back.  (That was something I did!)  I kept fiddling with it and finally had this:

King Tut-tut
I decided his trunk was too short.  (?)  I made it longer.  I moved the tusks (but couldn't quite hide where the old one was.  I also moved the eye.

King Pink
So here is the maybe final version, in my round 3 book, a collaboration.  It may still need more work.  Can anyone tell me how to preserve it when I finish?  Can I spray it with fixative?  Will fixative stick?  Do oil pastels ruin the paper?

I am sorry to say I haven't had a chance, with the wedding et al, to post about my returned round 3 Moley. Sometime relatively soon, I hope.